
Working with blooms in watercolor


Blooms are irregular patterns and hard edges, sometimes with a cauliflower shape, that appear within a painted area in a watercolor painting. The opposite of a smooth wash, a bloom is characterized by uneven color.
I’m a fan of blooms. I think they add additional texture and character to a painting and they’re part of what watercolor does. Some watercolor artists don’t prefer blooms and try to avoid them at all cost. It’s all a matter of personal preference.
In this post, I’m sharing all of my thoughts on blooms: why they occur, how you can use them, how to avoid them, how to make them on purpose, and how to get rid them.
Why do blooms occur?
Blooms are caused by uneven drying times when one part of a painted area dries before other parts of the area.
This can happen when you paint a large area too slow, rewet an area that’s dry, have much more water on your brush than the area you are painting, or when water puddles in part of the painting.
How can you use blooms?
While some artists try to avoid blooms, there are ways you can use them to your advantage.
Blooms can be used to create all kinds of textures in a watercolor painting:
In a sky to give a suggestion of clouds.
In a tree to give a leafy texture.
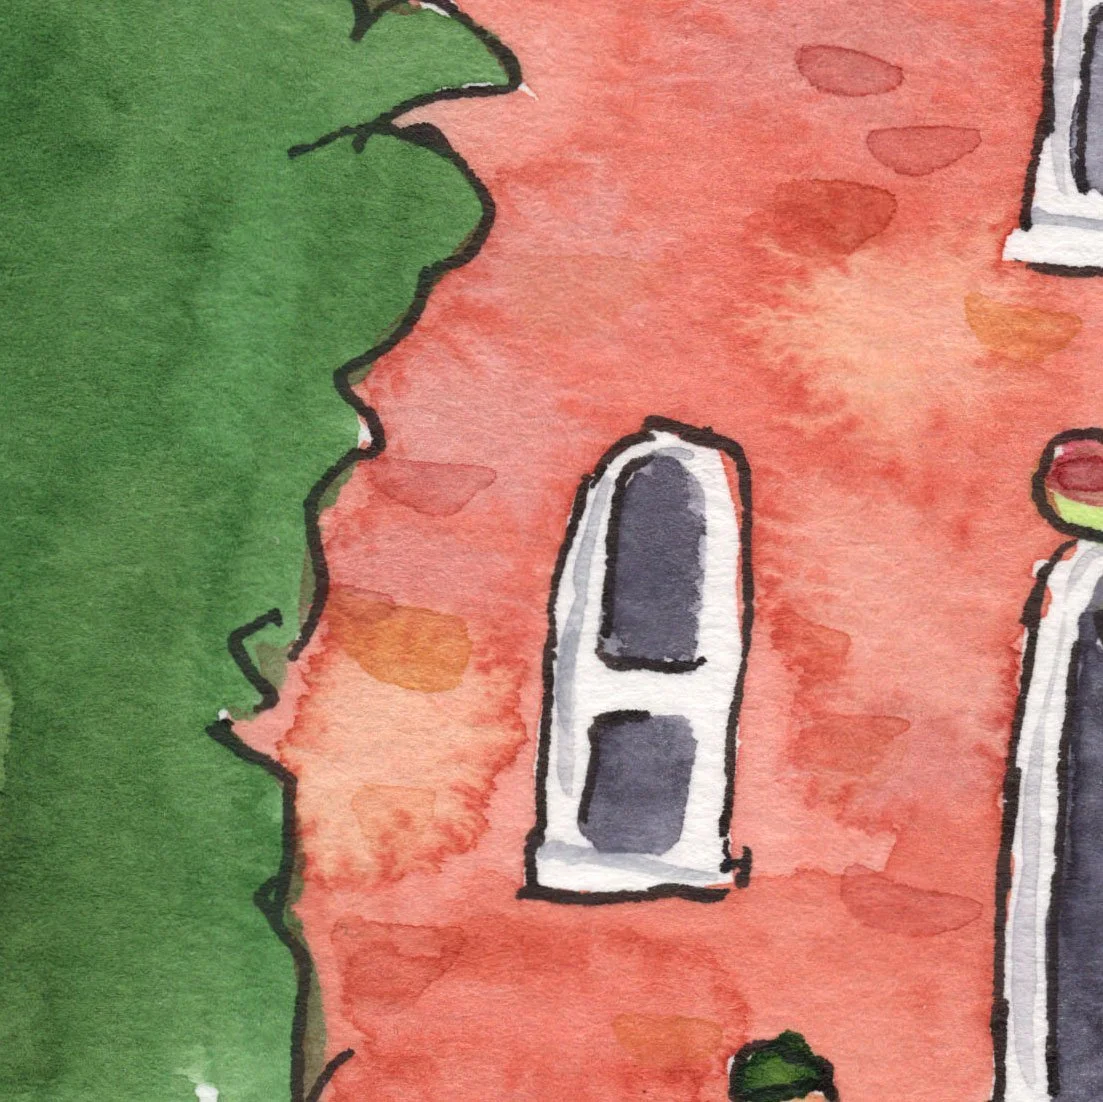
On a rock surface to give more texture, to make the rocks look more uneven. Or on a brick surface for the same effect.
On individual leaves or flower petals to simulate veins or give additional texture.
In areas like these, where you may want more texture but might not want to paint with another color, blooms can be a way to get those textures.
Here are some examples from my paintings where I have used blooms to achieve some of the effects I’ve mentioned above:


Sometimes blooms happen when you don’t mean for them to, but it may add character and texture to your painting. If you get a bloom on accident, see what it adds to your painting before you start worrying about it.
How can you avoid blooms?

I’m a fan of blooms, but you may not like them and want to avoid them in your paintings. Since blooms are caused by uneven drying times, you can avoid blooms by ensuring that a painted area dries evenly. Some ways to help with this are:
Use a brush to pull up excess moisture in spots. If you notice water beading up in a spot, often near the edge of where you painted, dry your brush on your towel and then use your brush to lift up the excess moisture.
Slightly tilt your painting. This can help keep a large wash even, by ensuring that any excess moisture is pulled to the bottom where you can easily use your brush to pull it up. If you have taped your painting to a board, it’s easy to place a small object under one end to slightly tilt it.
Work quickly, so that the entire area you are painting remains evenly wet as you work on it. Keep an area either consistently wet or dry and don’t keep adding moisture to an area that is partially dry. Make sure your brush is not significantly wetter than the area you are painting.
Find a paper that works best with your painting style. Some papers are more prone to blooms than others. I’ve seen some artists recommend rough watercolor paper over hot press for large washes, saying that hot press is more prone to blooms with large washes. I don’t work with hot press a lot and I don’t avoid blooms, so I can’t say for sure if this is true. You may also find more success with higher quality 100% cotton watercolor paper. But keep in mind that any paper can produce blooms.
How can you make blooms on purpose?
To make blooms on purpose, you just need to cause uneven drying times. There are a few ways you can do this:
Rewet a dry area where you want to get a bloom with a hard edge. You can rewet the area with a brush that’s damp with just water or with the same color of paint.
Drop more paint or water in an already wet area. Make sure your brush is wetter than the paper.
Use a drying tool to adjust the drying speed in an area.
Here are some examples of blooms using different techniques:

In this painting below of loose purple flowers, I caused extra blooms by getting the area extremely wet and then alternating letting it dry naturally and drying it with a draft heat tool. This caused all of these beautiful hard edges that added interesting texture to the flowers.

How can you get rid of a bloom?
If you get a bloom on accident, getting rid of it isn’t a big deal. You’ll just need to rewet the whole area. Once it’s wet, work your brush on the paper to smooth out the bloom. Then make sure the area dries evenly.
Here is an example of where I removed a bloom using this technique:


But before you remove the bloom, take a look at it and see if it adds to your painting. Maybe it’s worth just leaving it.